Showing posts with label Sewing. Show all posts

Saturday, 16 January 2016

Purple Wool Kilt

This year I wanted to make something of my own to wear on Christmas Eve (that is the big celebrating day in Sweden) and it turned out to be one of my favourite garments - the kilt. I made another pink squared kilt last summer in the same style but this one is made of wool fabric and in a more traditional fashion where the pleating is narrower and the fabric is darker in color.
I really like this fabric, it is heavy and have colors of red, black, purple, yellow and green which makes it easy to match with other garments in other colors. I bought a couple of meters extra of this fabric, so maybe it will be a dress or a jacket in the future too :) However, I will never wear them at the same time as this kilt ;)
 The pattern is home made by my mother. She made me several kilts of this kind when I was a  teenager so I have used my old kilts to make my new ones. I have decided to make and wear more kilts in the future because it is such a nice and cool garment, especially when it is modernised and made in a more feminine way like this one.


Monday, 30 November 2015

Soft Pink Teddy Bear

It is teddy bear time!
As I was browsing trough my patterns I found this very cute teddy bear, and since I got a lot of fur fabric in different colors from my husband for my birthday I finally found what I was going to do with it (beacuse I wanted to make something really nice). For this bear I chose a pale pink fur fabric and since the fabric was about 1,5 m long I only used about 30 cm width! That means that I have almost 1,5 meter width left ready to be used for something else.
The whole body is one piece, the only separate pieces are the nose and the ears which I have sewn by hand. The instructions were not easy to follow when it came to the nose area since the pictures were very dark and authors used dark brown fabric. In the end I just got a bit frustrated and I made some own decisions and it came out good. I usually is quite impatient with patterns and if I don't understand right away I just do my own thing and hope for the best. However, this time I really pushed myself to understand for a long time but it didn't work out. I think the result is good and I will stick to my own routines if I do more bears of this model. The pattern I found for this bear is coming from the same book I used for the Soft Toy Elephant.

Happy sewing everyone!


Wednesday, 2 September 2015

Soft Toy Elephant

As you probably already know by now I like making toys and last month when I found a book about making soft toys I knew I had to start planning for some serious toy making! The book is from the 70's but these models doesn't get out of fashion which is great.

The pattern pieces for these toys were drawn in miniature size on squared paper in the book and I had to do my own squared paper were each square was 2,5 cm *2,5 cm to get the natural size. Then I tried to copy the drawings of all pattern pieces the best I could on my own natural sized squared paper.
It was a new way for me to get the pattern ready, I have only used Burda patterns before and there you don't have to re-size anything or draw by hand, so this was exciting and fun!

I chose the elephant pattern because I thought it was so very cute. I calculated how big the final toy would be and thought it might get too big so I chose to make my squares 1,5 cm instead of 2,5 cm. That resulted in the little elephant you see in the pictures. It was a little tricky to sew and then turn the fabric inside out, especially around the trunk area, so I decided to make one more elephant in the original size which resulted in the big elephant in the pictures. I think they both turned out good and I am pleased with them both. The filling is a white fluffy 100% polyester fuzz, but according to the book small pieces of cloths is good to use too.


Saturday, 15 August 2015

Simple Jersey Tank Top!

Hello! I took a little summer vacation the past two weeks and I am now back on the blog with a very simple and cute sewing idea! Tank tops are one of the most popular garments but even if they often are made of very small amount of fabric they cost quite much. Also, I have the problem that when I need a tank top I seem to be the only one looking for COLOUR because the shops are always full of black, white and grey garments... So, I thought to myself that I probably need to fix the tank top I want by myself. I went to my favourite store in my town, Ohlssons Tyger, and found some lovely jersey fabric. The fabric was actually knitted like a tube and had the perfect diameter for my body so this tank top model didn't need very much sewing!
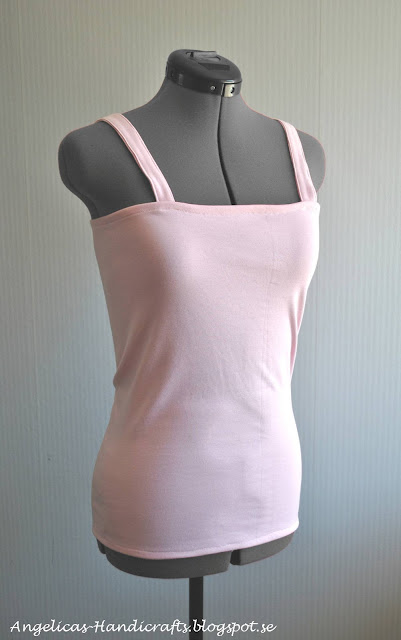
I bought the fabric in the three colors light pink, yellow and purple so I could make three tank tops. The final cost for these three tank tops is about 160 Swedish crowns (20 USD) together and when I look in the stores I can't find three tank tops in the right colors for less than 300 Swedish crowns (35 USD) together so I think I made a good deal :)

How to...
The easiest way to make your own tank top is to take measurements from a tank top you already have and like. Measure the body length and width of the tank top and then transfer them to the new fabric you want to use. If you don't have a tube-knitted fabric like I had, just cut out two rectangles in single sided fabric and sew one seam in each side to make your own "tube".  Remember to add about 0,5 cm on each side as seam allowance before you cut out your rectangles. Make sure to get the rib vertical so the fabric works along your body.

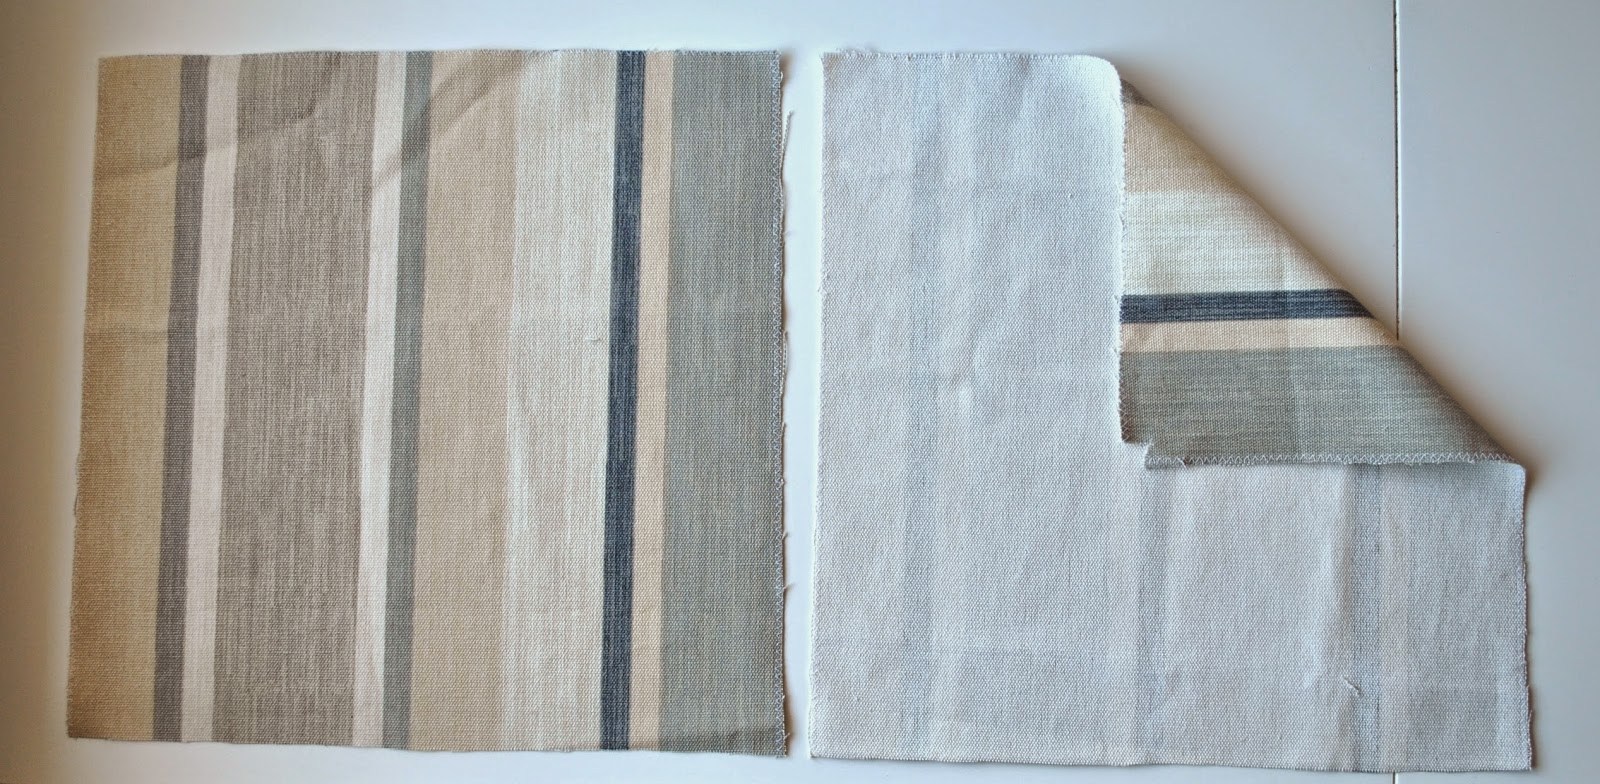
I wanted my tank top to be 45 cm long so I cut it about 50 cm and fold the upper and the lower edges about 2,5 cm each to get the final 45 cm length. The two stripes you see at the right in the picture above, are the two shoulder-straps in double fabric. You can of course make them how wide you like but I made them 3 cm wide and fold the long edges in about 0,5 cm on each side so they became about 2 cm wide in the end.
To get the right length for the shoulder-straps I measured on a tank top I had at home, you can also measure the straps on your bra. 

The piece in the lower part of the picture I used to make a headband to match with the tank top - super cute!

Monday, 13 July 2015

Pink and White Plaid Kilt

For some time now I have had a pink and white plaided fabric I think is very pretty but I didn't know what to make out of it... until last weekend!
When I was in high school (no, we will not think about how many years has past since then...!) I wanted to have my own unique style and luckily I have a mother who is very talented seamstress. One type of garment that became my special feature was all my different kilts I had. When I count in my head how many different kilts I had (I still have them stored in a box somewere) I count to six and all of them were different from eachother in both length and style. I have thought about them now and then but last weekend I decided to try to make one myself. I studied one of my old kilts and tried to make a copy. My old kilt had about 3 cm deep pleats but I decided to make 5 cm deep pleats instead.
I am very pleased with the result and I was actually surprised that I could make it look so good and alike my mothers old kilt model.
I lined the kilt with a thin polyester fabric because when the kilt is so short it has the bad habit of "climbing" up the legs when I walk. I love this style and I will definately make several more kilts in the future. I think it could be my special feature again, I forgot how comfortable this garment is :)


Sunday, 21 June 2015

Blue and White Summer Dress

Last Friday, the 19th of June, Sweden celebrated Midsummer's eve. For swedish people this holiday is almost as big as Christmas. We eat smorgasbord as lunch, which includes pickled herring, sour cream, potatoes, chives, eggs and crispbread. Later in the evening we barbecue and for dessert we eat cream cake with strawberries or strawberries with unwhipped cream or ice cream. During midday or early afternoon it is a tradition to gather loved ones, dress a maypole with flowers and leaves and then dance around it together with the children to violin music or accordion music.
We celebrated together with my husband's brother's family and for this occation I sewed this dress I will show you today!
The pattern is taken from BurdaStyle magazine no 6/2014. I wanted a dress with simple lines and few details and I liked the fact that it has two hidden pockets in the side seams. When I was finished I was a little unhappy with the neckline because I thought it was a bit too deep. When I leaned forward people would see more than I wanted to show so I sew the two front parts together were they crossed. However, that was not enough so I used a white tank top under so it covered as much as I wanted. Maybe I will add a white or blue patterned piece behind the two front pieces so I won't need a tank top in the future.
The fabric I used is cotton fabric with not much stretch. However, there is no need for much stretch because the zipper in the side seam is long enough to make it easy to get the dress on without trouble.
The fabric is called "Twelve Oaks" from the collection of Judie Rothermel for MARCUS Fabrics (see picture below) 


Sunday, 24 May 2015

Baby Body with Air-Balloon Print

Children's clothes are so small and easy to make and for me the choice of colorful and happy fabric prints is the best part of making children's clothes. This time I found a very cute cotton tricot fabric with air-balloons! I tried to look for the name and the producer of this fabric on the internet but unfortunately I didn't find anything. Maybe you know?
I still have some of this fabric left and my fabric shop around the corner has tons of other cute fabrics so I will definately make more baby garments in the future  :)


For this body I used the same Burda pattern as also I used for this baby body with apple print I made for an earlier post. In that post you will also find the type of buttons I used for this garment and they are really easy to use, you just need a hammer and you will get a great result!


Saturday, 16 May 2015

Summer Jeansjacket

For the past two weeks I have been working on the greatest sewing project of this year so far for me, and I am now ready to show you the result!
I love jeans jackets but I have never found anyone anywere that fit my body. I am slim and tall and my arms are quite long. Either the waist is good but then the sleeve length is too short, or I have to go up a size to make the sleeves fit but then the waist is too wide. I have been very tired of these issues for years and this spring I decided to make a jacket myself to hopefully make it fit for all parts of my upper body.


I used a Burda jacket pattern from the latest BurdaStyle magazine but because I am who I am, a girl who always wants to make changes to make the garment fit "my style" I changed some things along the way.
For the pockets I cut out the pattern pieces as the original but I only used one piece of every pocket and kept the rounded shape on the sides.

Because the Swedish summer is not very warm I wanted a lining for this jacket to make it a bit more resistent to cold weather. I used the same fabric I used to make this cotton summer dress last year and I think the pattern of this fabric fits well with the blue jeans fabric.

I made this jacket in size 36 but if I cold do one change I would change it to a size 38, at least in the area around the shoulders and maybe in the waist because it feels a little tight in those areas when I have a sweatshirt or a hoodie under it.

I sew the lining into the jacket by hand because it was quite hard to do it with the sewing machine. It took a good while to finish it and my fingers were sore but it turned out nice and I am happy :)


Sunday, 26 April 2015

Textile Bag KEANE Makeover

One of my favourite music bands is called Keane and I have loved their music for eight years. I have been to two of their conserts here in Sweden and each time I have bought some merchandise to have a memory of the consert. The Perfect Symmetry World Tour back in 2008 I bought this textile bag. My mother sew a lining in it because it was very thin and for years I have used this bag to carry my lunch box for work and my knitting equipment.

Here is the final result of the makeover! :)

As you can see the original bag was quite damaged so I decided to give it a little makeover.

 
I cut out the print from the original bag, washed it and sew all around the edges.

 
The fabric I used is a Laura Ashley fabric that is very thick, so thick that you can use it for upholstery. I am sorry I didn't find the exact fabric on the internet to show you, but if you like the style of it you can check out Laura Ashley homepage and browse through their collection of fabrics :)

I pinned the edges of the printed square and sew it on one of the Laura Ashley fabric squares.


Sunday, 29 March 2015

Easter Decoration - Easter Witch for the Window

Next weekend it is Easter and for this post I made a fun Easter Witch decoration to hang in my kitchen window :)
In Sweden some people celebrate Easter the Christian way in remembrance of Jesus Christ's passion, death and resurrection. However, in recent times, the Passover for the common man have lost much of its religious content and has become a secular family celebration were old folklore, ancient Nordic traditions and Christian traditions are all mixed.

"Easter witch" is according to old Swedish folklore, witches who traditionally fly on brooms to BlĂ„kulla, the Brocken, on the night before Maundy Thursday to feast and then return on Easter Sunday. According to Wikipedia, ever since the early 1800s it is common in Sweden that children dress up as Easter witches, knocking on the doors in the neighborhood wishing everyone "Happy Easter" while giving away homemade cards and drawings. In exchange they get some candy or pennies. 

In Sweden we also put birch twigs in a vase and decorate it with colorful feathers (the twigs are initially connected to Jesus' entry into Jerusalem, and the palm leaves sprinkled in front of him on the ground).

        
When I was a little girl my mother made a little Easter Witch like this and I remember it very well always wanted to make one for myself one day. Well this was the day - or days - because it took me about three days to make it from start to finish. 

I will not make a tutorial for this doll but I will give you all the parts you need to make it. You will need:
  • Pantihose for the head
  • Cotton wool for the head filling (my doll's head diameter is approx. 5cm)
  • Needles
  • Yarn for the hair (Put four of your fingers together and wire the yarn around them. Sew the upper loops to the head. Cut the lower loops to get single threads. 
  • Sewing thread for eyes, mouth and freckles
  • Fabric for the dress (the fabric I used you can find at Fabric-World or in Sweden at Ohlssons Tyger)
  • Fabric for the headscarf (a triangle) and the apron
  • Fabric for the body and arms (my doll's body is approx. 10cm *5cm)
  • A branch (about 20-30 cm) for the broom handle
  • Small twigs for the broom bristles cut in 7 cm length