When my husband and I had our birthday party my mother in law gave us a new kitchen machine - a cupcake maker! I didn't even knew they existed! My first thought was that this machine was one of all new inventions that would be great for two tries and then one would discover that the result gets better in the oven. Well, I was wrong, the result is very good! I will definately use it many times in the future :) The concept of this machine is to be able to make cupcakes easy and fast without oven and without all the oven plates and baking cups in paper or silicone. Well I used silicon cups anyway :)
The cupcake maker we got was bought at the store Clas Ohlson, a large retail chain in Sweden. The store has a
English homepage and a
Swedish homepage. The cupcake maker you find with the English link doesn't look exactly the same like mine but I am sure it is basically the same machine.
I started from a recipe from a little book called
"Cupcakes" by Corinne Jausserand (but I made a few changes on the way). Together with this little book you also get 16 small silicone cups that you can use again and again. I use them when I bake and they fit very well in the cupcake maker :)
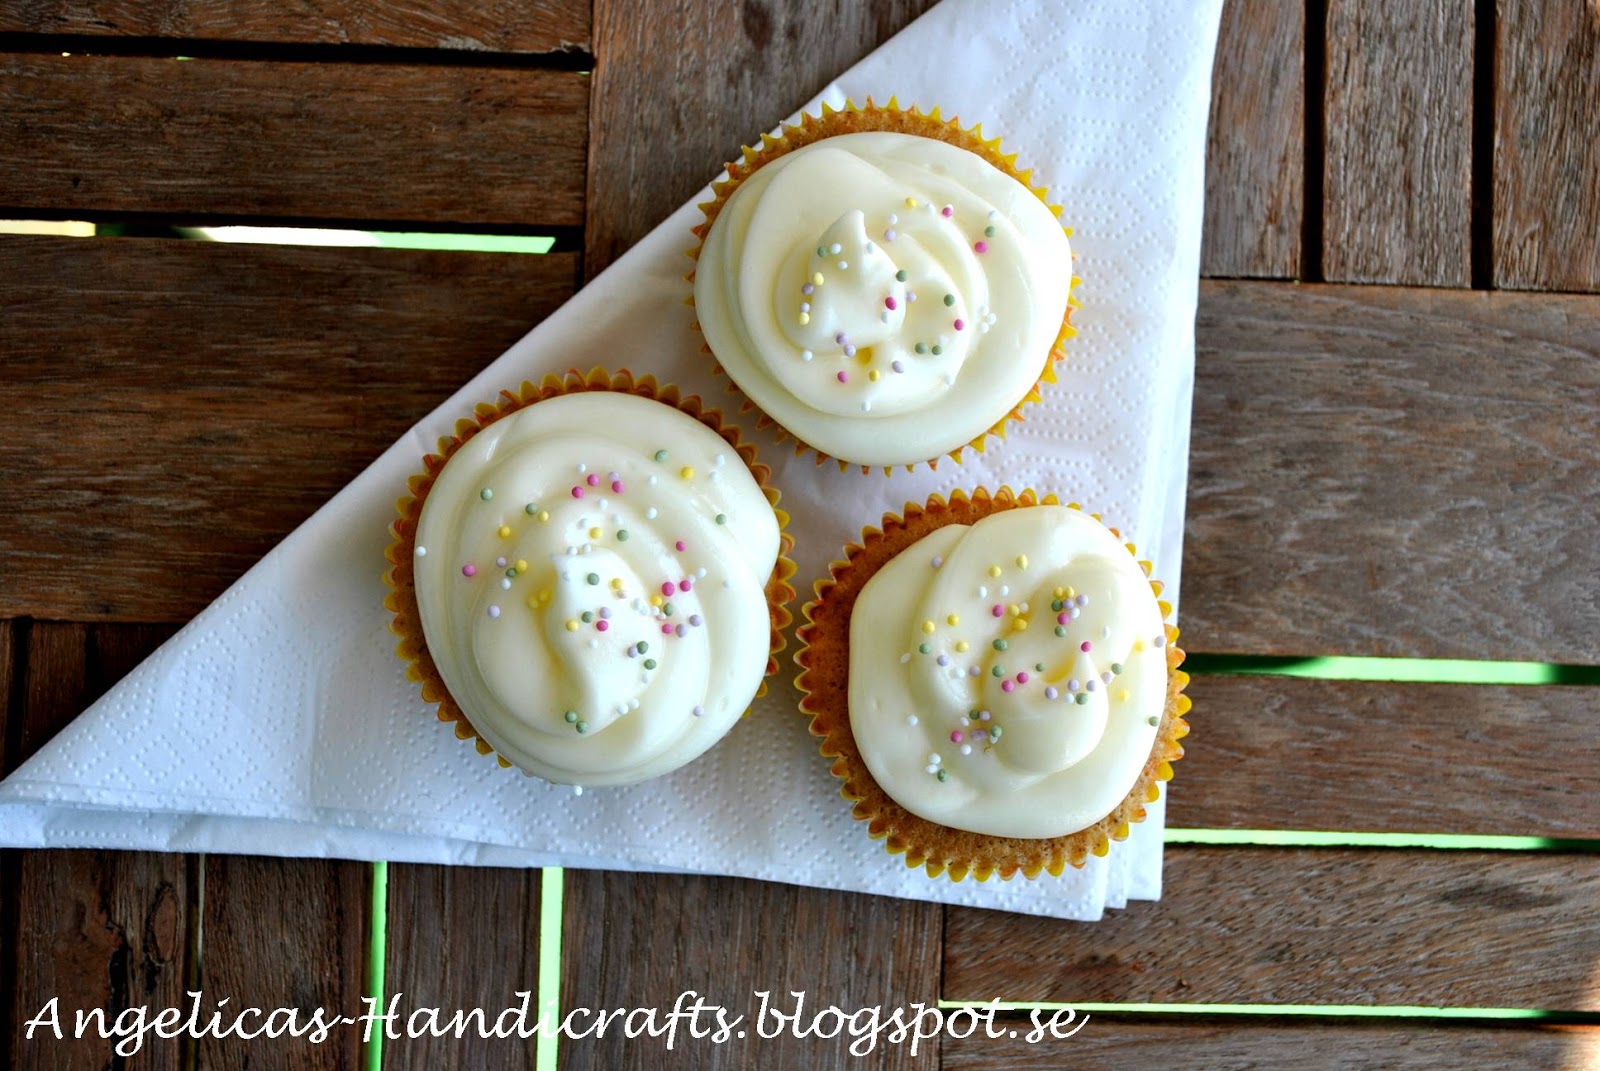
Vanilla Cupcakes with Blueberry Cream Cheese Frosting
Vanilla Cupcakes
1 3/4 deciliter flour
1 milliliter salt
1/2 teaspoon bicarbonate
1 deciliter sugar
100 grams room temperatured butter
2 teaspoons vanilla sugar
2 eggs
Put the oven on 175 Celsius (I turn on the cupcake maker and wait until the green indicator lamp light on the top goes out)
Mix flour, salt and bicarbonate into bowl number 1 and set it aside for now.
Put the sugar into bowl number 2 and add the butter in pieces.
Add the vanilla sugar into bowl number 2 and whip the butter, sugar and vanilla sugar with a electric mixer.
Crack the first egg into bowl number 2, whip, add the second egg and whip again until the it is all homogeneous.
Use a fine mech strainer to get the flourmix from bowl 1 very fine and add the flourmix to bowl number 2 while you are whipping with the electric mixer.
Whip the mixture in about 2-3 minutes until it is very smooth and fluffy.
Fill the cupcake silicone cups with the mixture using a spoon. Fill upp about 2/3 of the cups.
In an ordinary oven you let the cupcakes bake for about 15-20 minutes (depending on the size of the cupcakes), however if you use a cupcake maker like me the time is about 10 -11 minutes.
When the cupcakes are ready you let them rest and cool on a plate.
Blueberry Cream Cheese Frosting
100 grams of Cream Cheese (Philadelphia is one option)
1 deciliter icing sugar
2 tablespoons of blueberries (fresh or frozen)
Mix the blueberries and the sugar in a saucepan. Let the mixture simmer and crush the berries with a spoon. Let the mixture cool.
Stirr the cream cheese with a fork to get it smooth.
Use a fine mesh strainer to get the icing sugar very fine and add it to the cream cheese. Stirr well.
Add the cooled blueberry mixture little by little into the cream cheese/icing sugar mix to get a
Spread the frosting on your cupcakes with a knife or pipe it out as a swirl (but remember to have a big opening so the blueberry pieces in the frosting don't get stuck).


